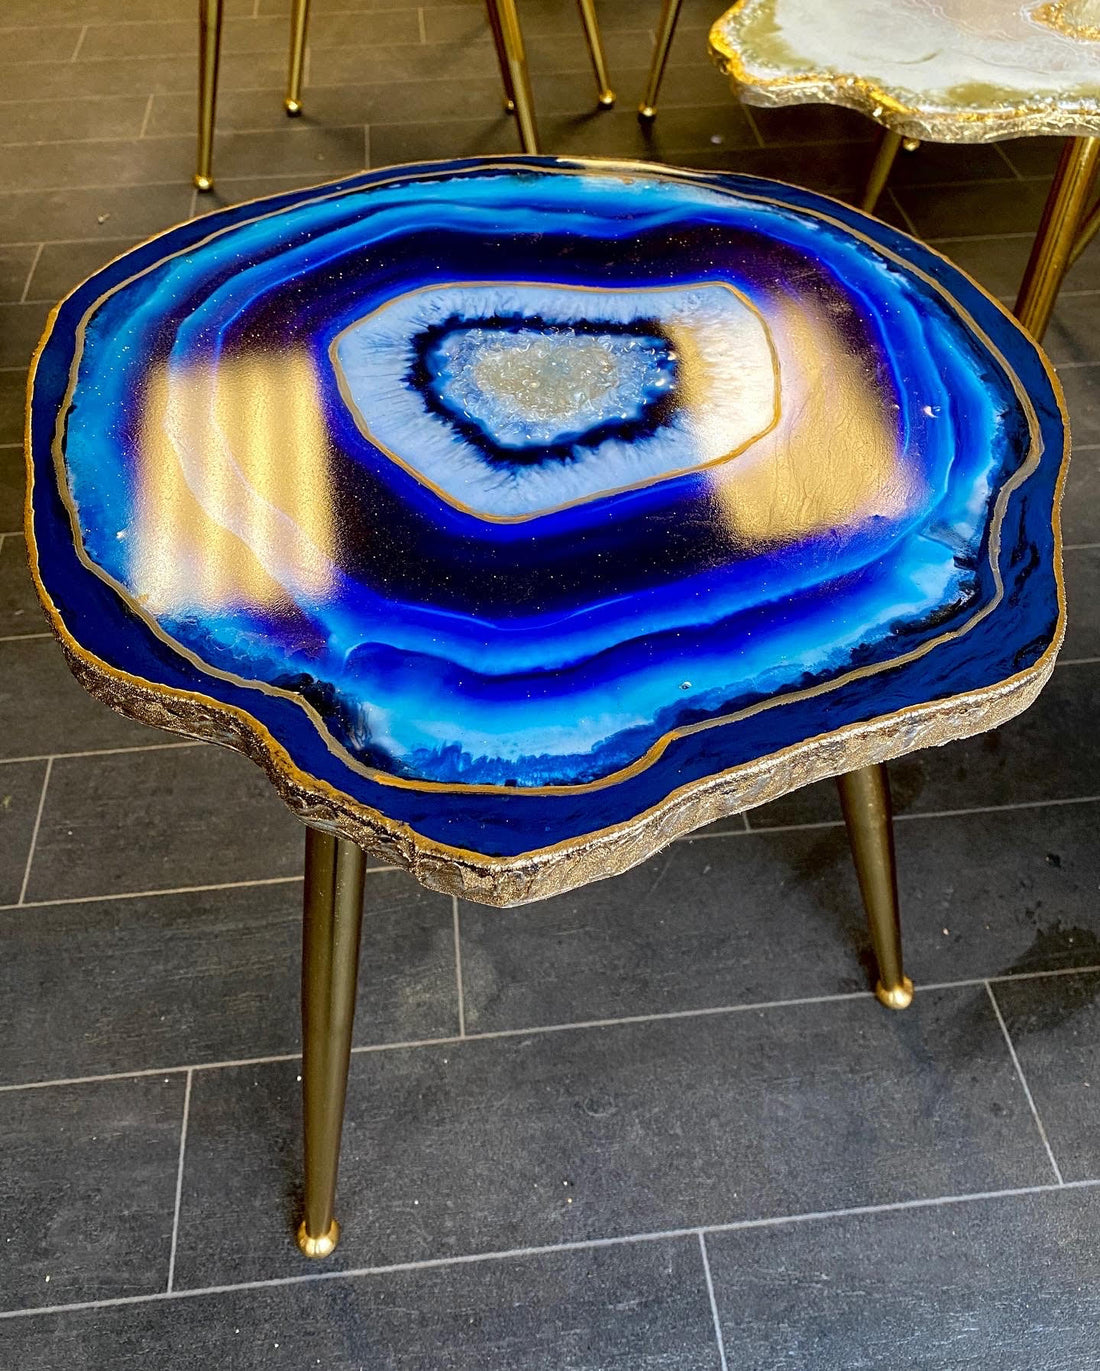
Making the custom Epoxy resin coffee table set
Fatemeh KhorramiIn this article, I want to teach you how to make a beautiful epoxy table even in your own home.
First of all, I want to remind you a few things to keep in mind in building an epoxy coffee table.
The first point is that you have to use a very good and high quality epoxy resin that is both competitor and transparent, and so you have to be more resistant to the resin.
What wood to use to make a resin table?
The second point to consider is the use of wood on the epoxy resin table.
Try to use wood that is completely dry as much as possible, meaning that the wood that is moist is not very suitable for making epoxy tables if you have a wood that is slightly moist for days and can be used for days.
Not and this moisture does not cause your resin to deteriorate. Making Epoxy Resin Nesting tables Resin Template The third point to consider is to make an epoxy resin table template.
You must use molds that resin do not give me the best option I can offer them MDF molds and MDF molds with your own laminates.
Make it yourself you can stick these sticks with MDF screws or with wood glues but I suggest using MDF screws if you were in and out of the wood where this mold was completely attached to me try to use the dough well to use it.
The quality that I recommend epoxy resin without completely dry wood and the third is a very good MDF cottage and Higlas. First you have to primarily primer your woods Primer means that you have to fill all the holes in your woods.
You can do it with sealers or do your own epoxy resin if you want to sell paint and paint with all colors and paint. You can use them.
Note that if you want to use a sealer you must apply more than five layers to the cartoon and make sure that each layer should be dry so that you can apply to the cylinder after each layer of soft sanding. The quality of your work will be better. Bubble Nash.
The second way to type your wood with epoxy resin is to mix two to one resin and hardener with a latex glove and mix the whole wood to the epoxy resin and hardener.
Try to do it for two or three steps. Have your own woods around and do not let the windows get out of the wood and enter the epoxy resin day and get your work out of beauty.
When the primer is done, we go to place the wood in the molds we have made with MDF, so that the woods are completely fixed and fixed. Put heavy weights or fix the carpentry tools completely and fix it.
Now we need to add epoxy resin to our mold. Consider it to add epoxy resins to layer layers. My suggestion is that you have less than one centimeter to work when you have less than one centimeter.
Torch or by eliminating possible lighters try to stay upstairs for at least the first 5 minutes and do not let go of the bubbles and avoid them when you have finished the first layer for 2 hours and you can add your second layer resin to your second layer.
The thickness is less than 2 cm, of course you can pour more, but keep in mind that your resin will be more than 2 cm high so it is about 2 cm or less suitable for less than 2 cm.
Well now you are complete and we can remove any molds or molds. Remove the ureter from the resin because we used the MDF Higgles molds.
It would be very easy. Now we have a resin that will probably be unpleasant and have no special beauty. You can completely clean the work with professional chainsaws or make it perfect for it.
To do your job faster When you polish all the work we go to the polishing skin stage. How to do polish is this way you have to use soft shells to keep your work very smooth.
Keep in mind that you should first use lip kisses. We recommend starting the skin to 1, and after this resolution # 1 after that number 2 and then # 1 and then # 1 and then this day. Make it a # 1 thousand and then a boy number 2 that soft shells like number 1 and number 2 and number 2 must be combined with water to make your work more soft and delicate.
Clean each cartoon step if you have a chance to clean the soil and if you use it completely. When the step is over, you are now working on the polishing stage.
Try using resin polishes to achieve all of its beauty and quality. Of course, many friends ask if we can use car polishes. I can tell you that if you find money and money, you can find money.
Use it and then soft polish. I want to pay for your cartoon with the machine. My suggestion is to pay for about 2 minutes per square meter, but if you want to do it by hand, you have to make between 2 and 3 minutes for each square meter. You have to pay for the vaccination stage.
There is resin and you can also use professional car waxes for epoxy resins when you have completely waxed your work and your cartoon is completely shiny with a cloth that does not work.

Well congratulations, you have just made an epoxy resin coffee table that is perfectly smooth and is completely shiny and completely transparent, but there are other key points, such as using polyurethanes that you can use in later articles.
